As many of you know every month I do a caption contest on my Facebook page. The winner of the caption contest wins photo coasters, made by me, with the photo of the month and the winning caption. (Don’t forget to check out this month’s caption contest to vote or submit your own caption for a chance to win! A few people have asked me how to make these photo coasters and today I’m going to show you how you can do it yourself!
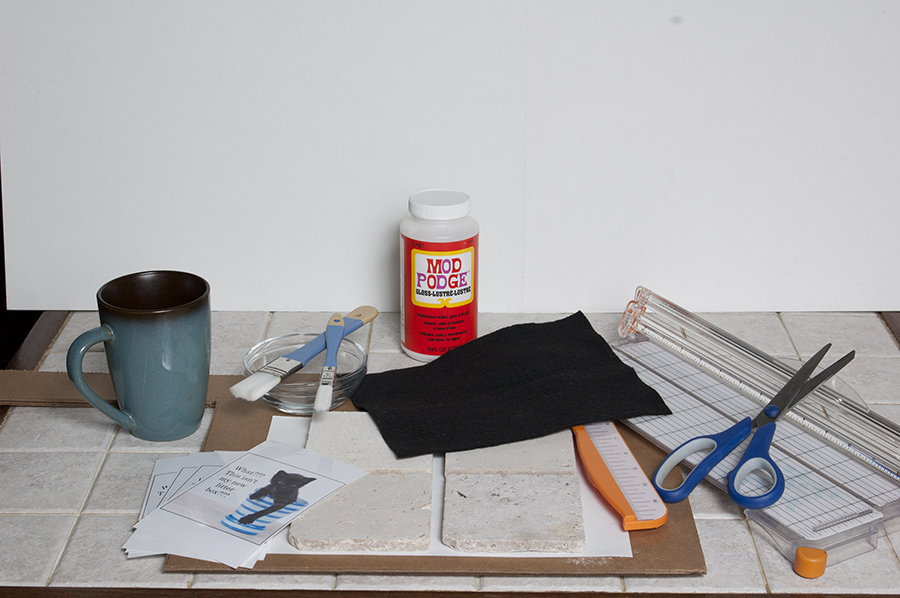
What you will need:
- Mod Podge (I use the Glossy kind but whatever you prefer will work) – you can find it in the craft section of many department stores or at Michael’s & A.C. Moore
- 4 tiles sized 4 in x 4 in I use tumbled chiaro (stone) tiles because ceramic is so fragile – you can get tumbled chiaro tiles at Home Depot or Lowe’s
- 4 photos
- a piece of black felt
- 2 paint brushes – I use a 1-inch and a 1/2-inch brush
- a small bowl
- scissors and/or paper trimmer
- a small squeegee or credit card
- a nice cup of coffee or tea to complete the creative atmosphere!
Step 1: Get your photos ready!
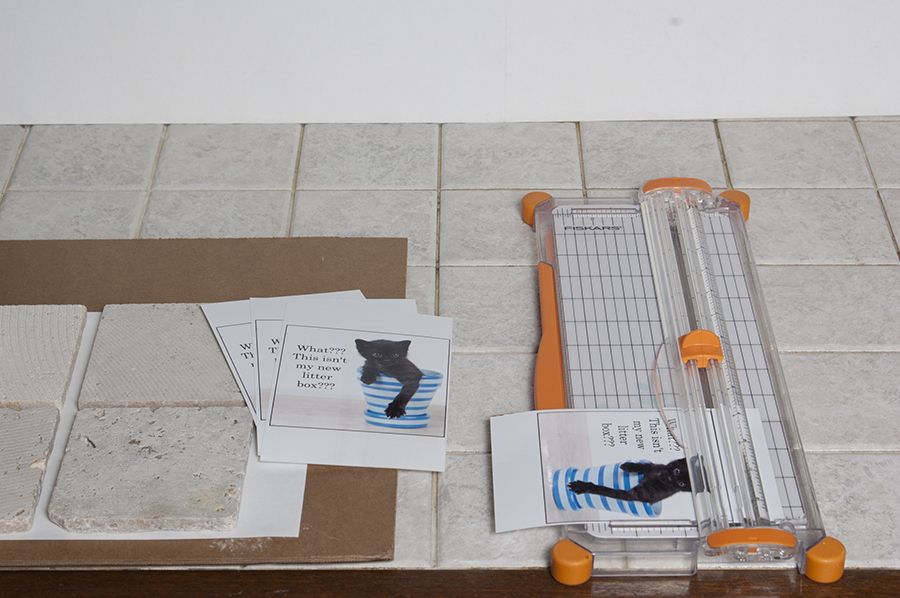
I usually prepare my photos digitally so that they are the right size when they come out of the printer. If you have photo editing software that will allow you to resize and crop your photos you can do this too. In Photoshop you can use the crop tool to do this by setting both your width and height to 3.75 inches and setting the resolution to 300 ppi. Then I print onto 4×6 paper and trim the edges.
You can always skip this part, print your favorite image on 4×6 paper and then crop the old fashioned way – with a ruler! I prefer to use a paper trimmer to get perfectly straight lines, but scissors will work too.
Step 2: Size up and place your photos
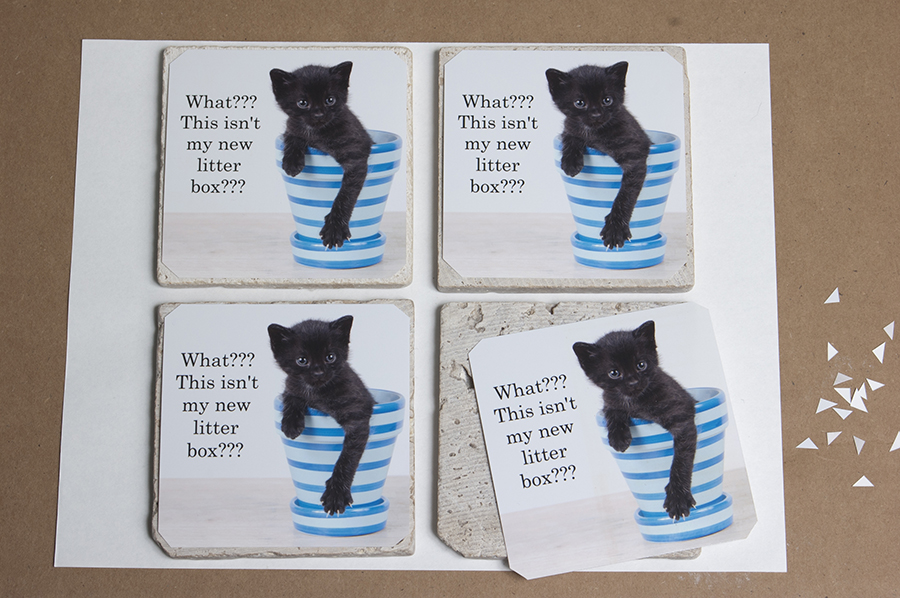
When size up my photos for coasters I always make them smaller than the surface of the tile. This is so that the photos are less likely to peel up from the edges, but it also creates a nice natural stone border on you tile that looks nice too. I like to cut the corners off the photos too for a little more shape.
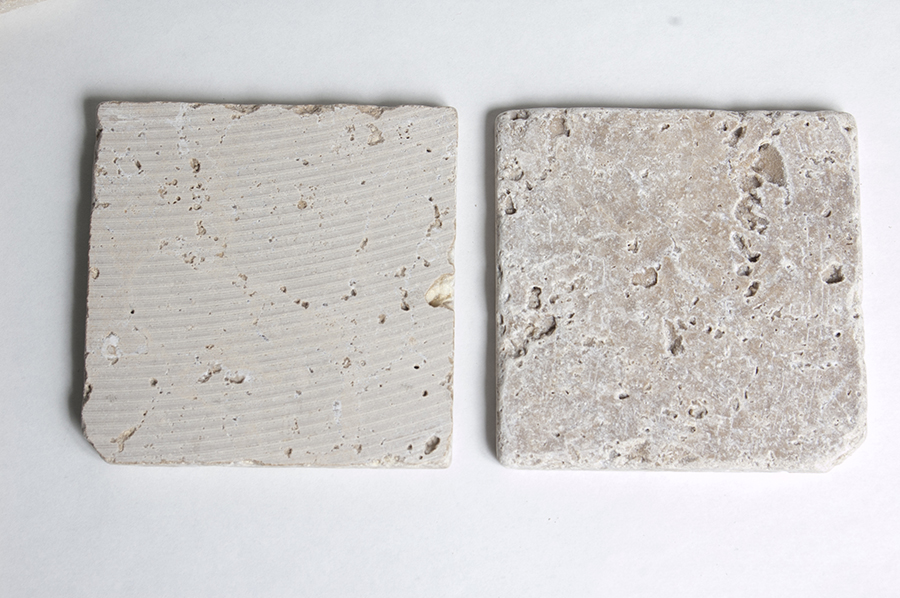
Tip: Use the back side of the tile for the front of your coaster. The rougher the surface, the better the Mod Podge will hold. In the photo below the backside of the tile is shown on the left, this is the side you should use as your front.
Step 3: Start Mod Podging
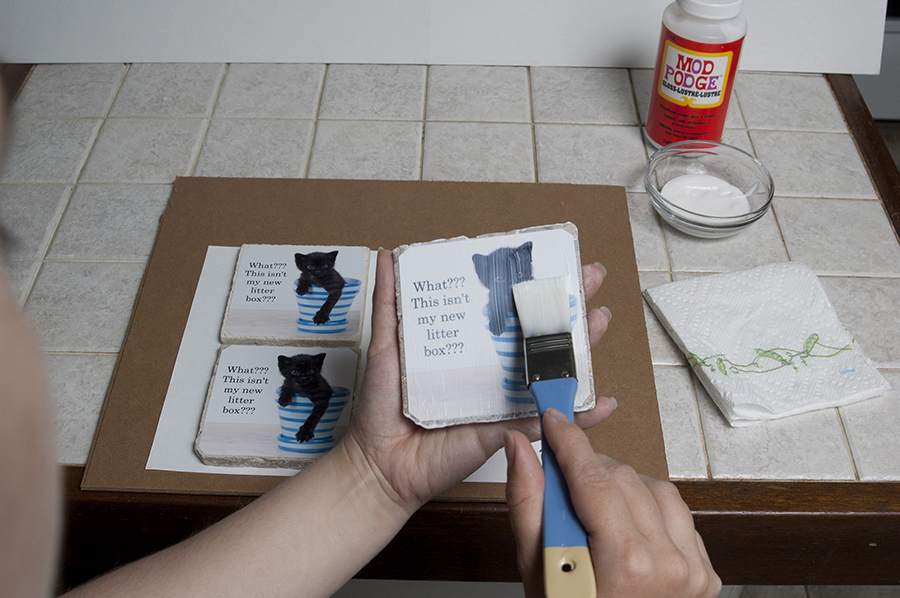
Pour some of your Mod Podge into a small bowl. Grab your 1-inch brush and start painting the Mod Podge onto the back of your photo. Cover the entire surface, then place your photo onto the coaster. You will have a few seconds to slide it around before it starts to hold.
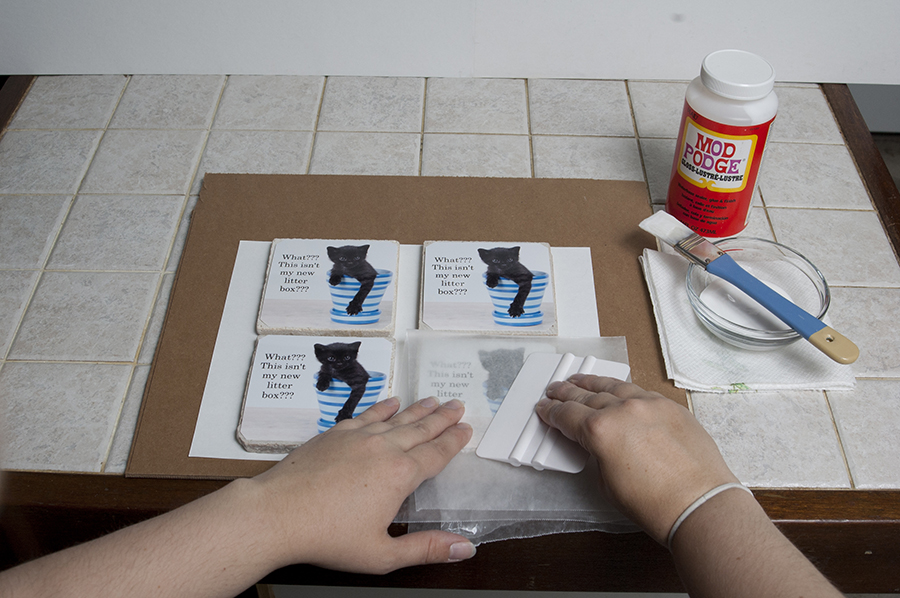
Use your squeegee to get rid of any bubbles or excess Mod Podge. Start from the center of your image and work towards the edges until your image is laying nice and smooth. Let your coasters dry for an hour or two. Cover your bowl so that the Mod Podge doesn’t start to dry while you wait.
Tip: I use a piece of wax paper between the squeegee and photo to prevent any scratches and to avoid getting Mod Podge all over my squeegee and then all over the next photo. You can use regular old printer paper if you don’t have wax paper. Just make sure to use a fresh piece on each coaster so you don’t transfer clumps of the glue onto the next photo.
Step 4: Mod Podge some more!
Now you can start sealing your photo. Brush a thin layer of Mod Podge on top of your coaster. Make sure to brush even strokes all in the same direction, as you will be able to see your brush strokes in the finished product.
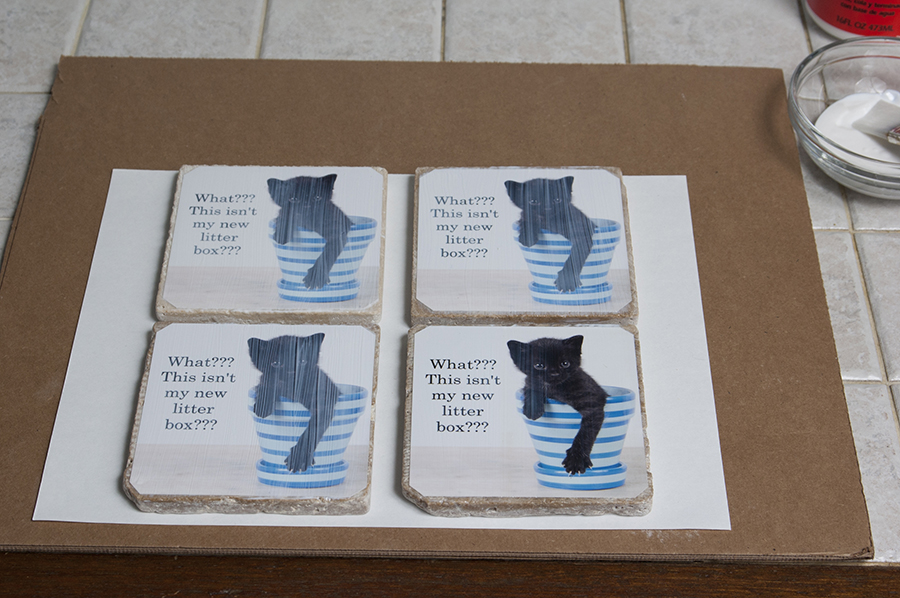
You should put 3-5 coats of Mod Podge on your coasters to seal them. Wait 15 minutes in between coats. As your coasters start to dry they will turn from white to clear. When you’ve applied as many coats as you’d like let your coasters dry over night.
Step 5: Make the feet
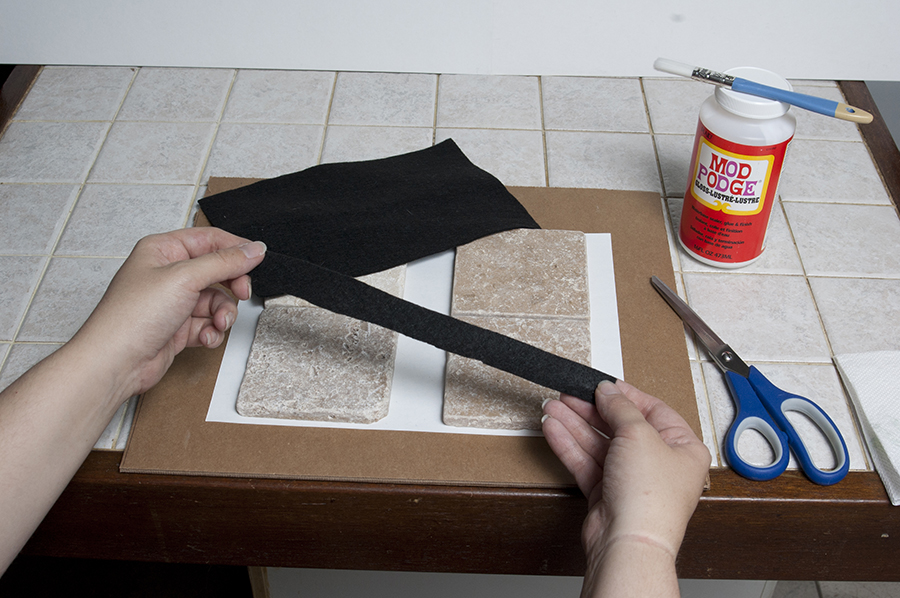
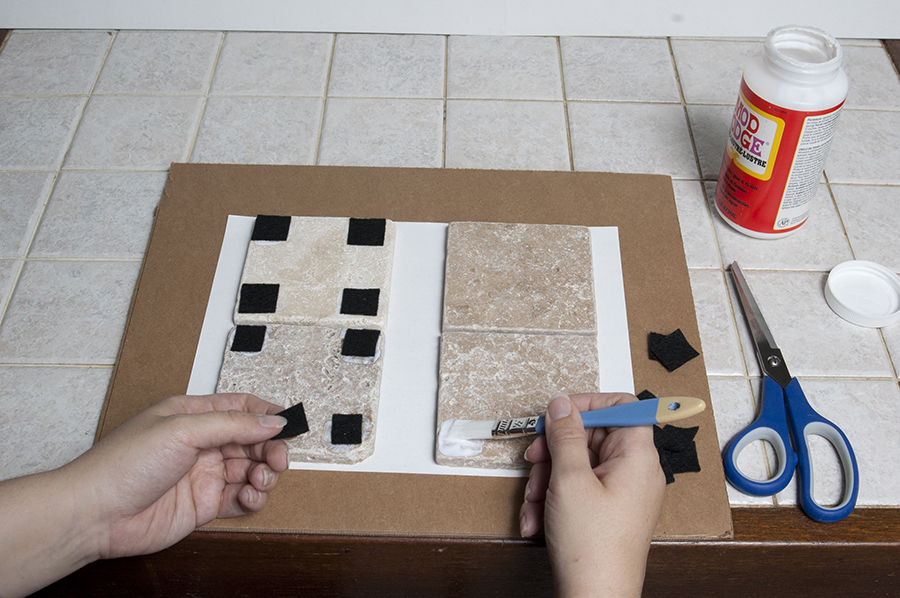
Now that your coasters are completely dry you can flip them over and work on the back. Cut a strip of your felt, about 1 inch wide and then cut them into 1 inch squares. You will need 16 feet.
Use your small brush to dab some Mod Podge in each corner of your coasters and press the felt down. Make sure you let these dry completely before flipping them over, I usually leave them over night again just to be sure I don’t glue the coasters to my kitchen counter!
Step 6: Enjoy your coasters!
I hope you enjoyed this post! Don’t forget to follow my blog to get notifications of new posts – or even better – subscribe to my newsletter to receive exclusive coupons, promo info, and news about my pet photography and fine art photography. Both links are at the bottom of the page on the right.
Thanks for reading!
