First of all, if you don’t already have one of my printable calendars, it’s totally free and you can download either a copy of my 2016 pet calendar or my 2016 fine art calendar right now. Hell, download em both if you want =).
So you printed my calendar and and now what? How do you hang this sucker? I suppose you could use a thumbtack, but the word tacky came from somewhere right… get my drift?
I’m going to show you how to turn a stack of photos into a beautiful accent for your home or office.
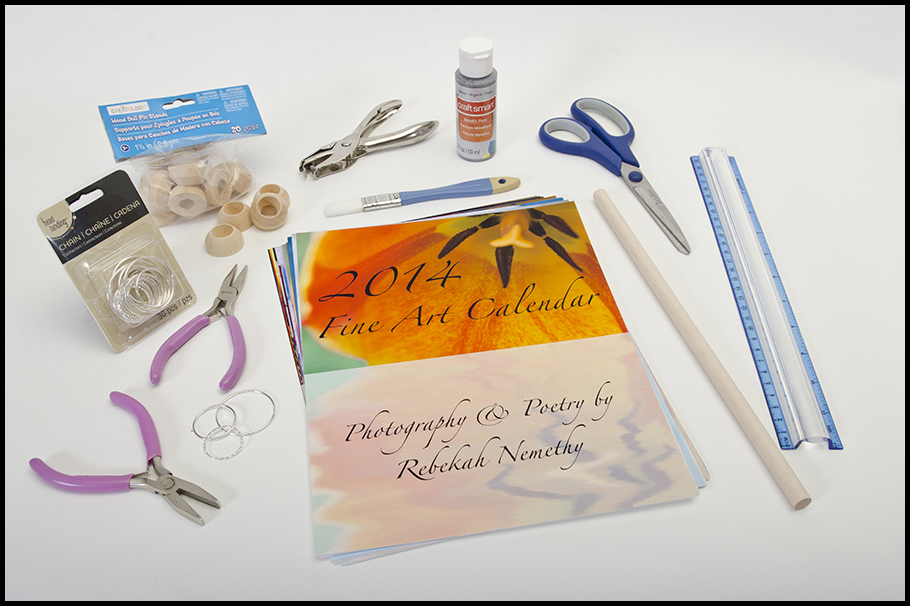
What you will need:
- 14-page fine art printable calendar printed on 8.5 x 11 in. photo paper (you can print your own or grab one of mine from the 2 links above)
- 1 wooden dowel 12 in. long and 7/16 in. thick
- 2 wooden doll pin stands 1 1/8 in.
- variety pack of chain links (I got a pack of 30 with large rings 1 1/2 in. wide and smaller rings about 1 in. wide in two different textures)
- silver metallic paint
- hole punch
- 2 pairs of jewelry pliers
- 1/2 in. paint brush
- ruler
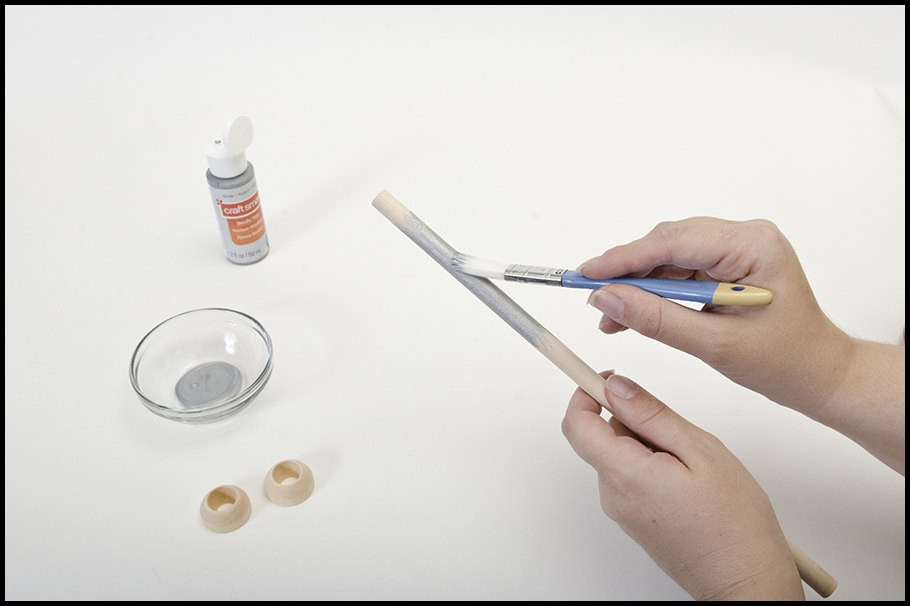
Step 1: Paint the Wooden Pieces
I used two coats of silver metallic paint on both the wooden dowel and the doll pin stands. Let the paint dry 10-15 minutes between coats.
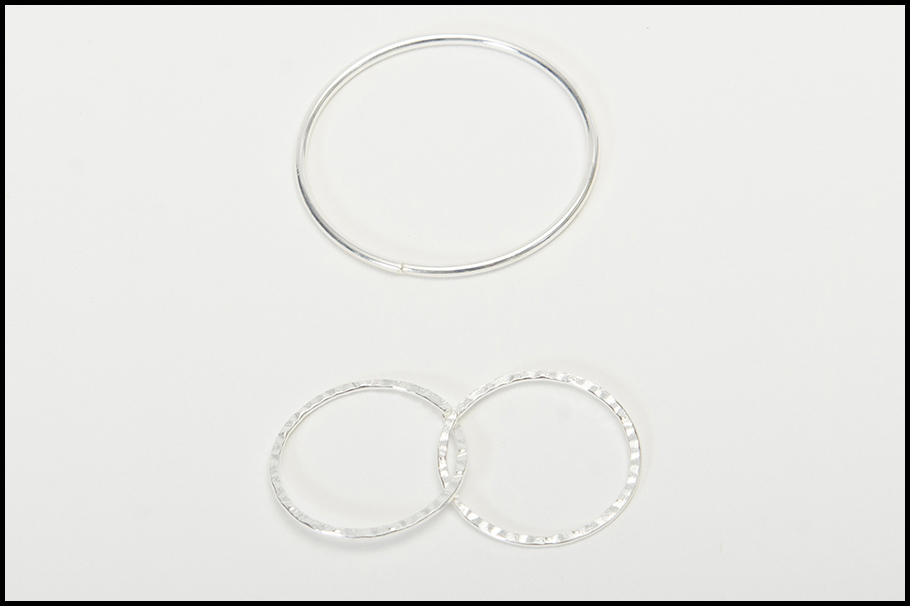
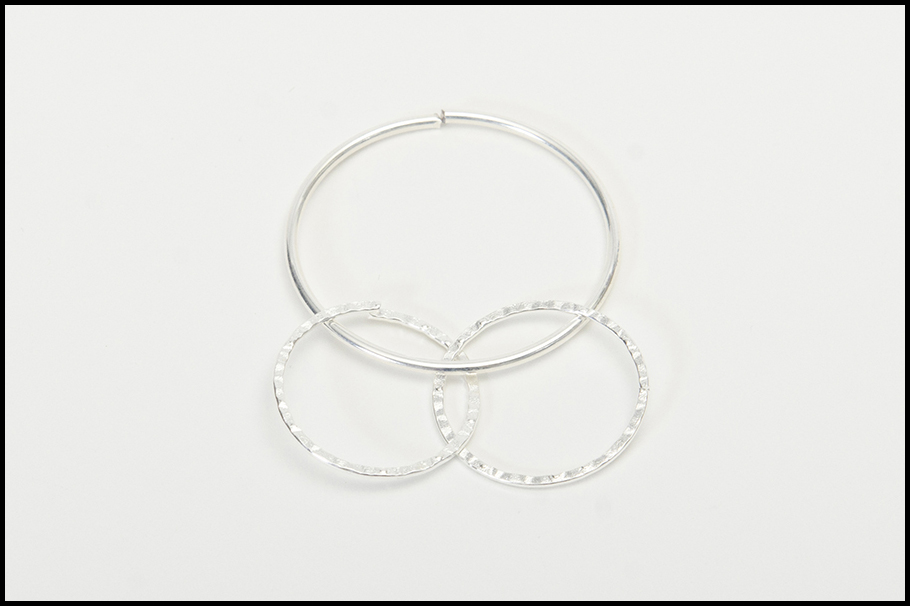
Step 2: Connect the Rings
Start off with two 1-in. rings and connect them. Then take one of your larger rings and attach it to the two smaller rings where they intersect.
Tip:
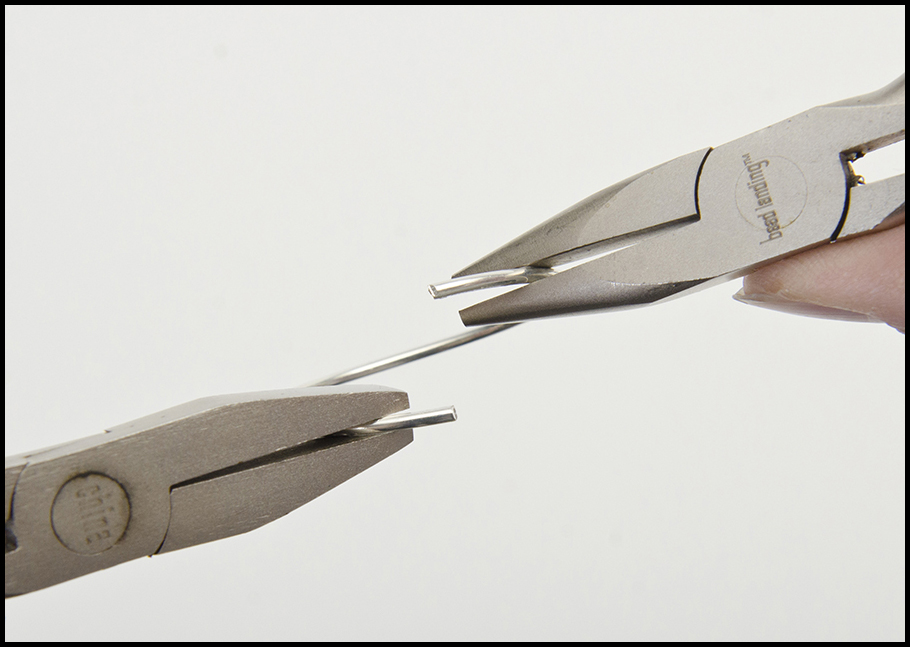
Don’t pull the rings apart to open them, instead use your jewelry pliers to twist the rings open. Otherwise it will be nearly impossible to get the ends to match up again.
Step 3: Complete the Chain
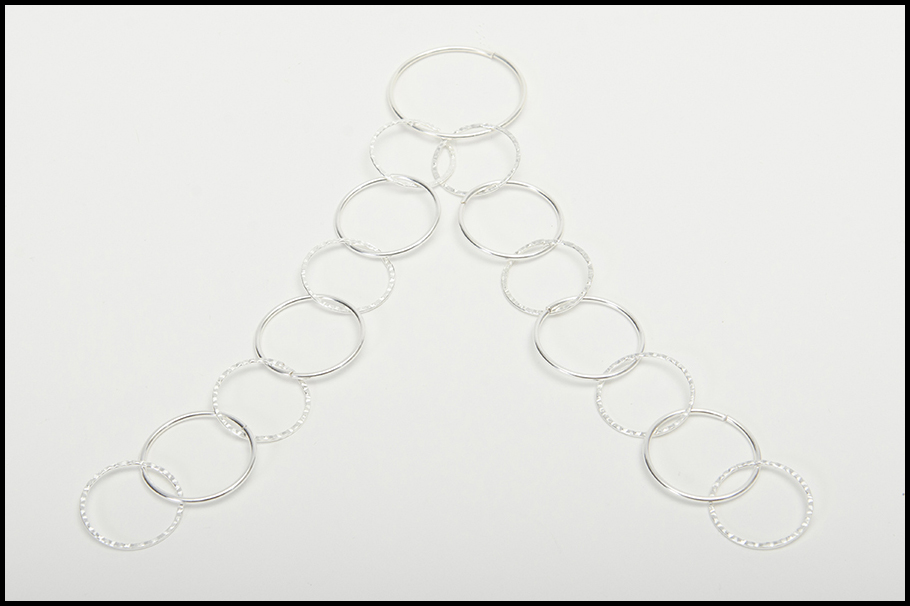
Add your small 1-in. rings to make two chains; one hanging off of each small ring you connected in step 2. My variety pack of chain connectors came with textured rings and smooth rings, so I alternated between the two for a little extra style.
Step 4: Punch Holes in Your Calendar
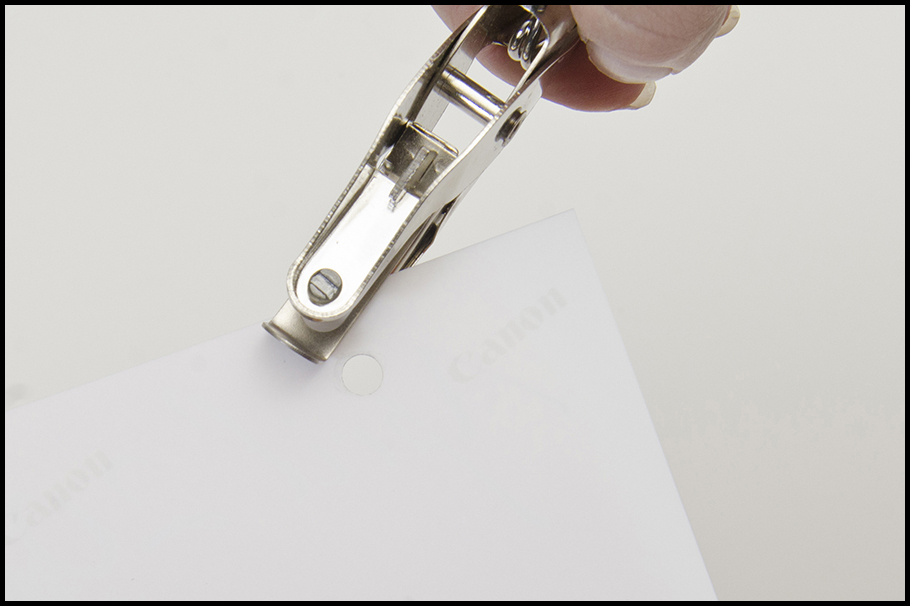
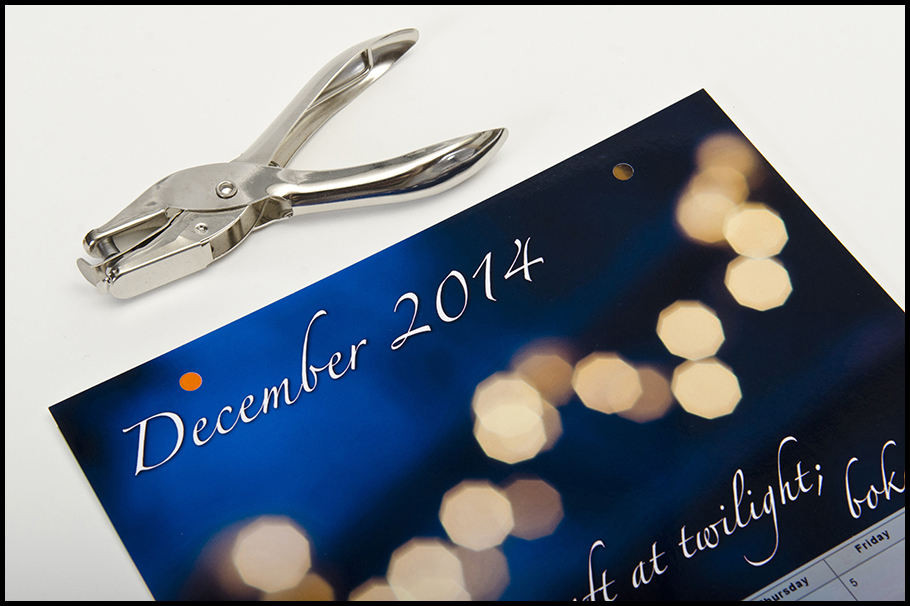
Flip your calendar over and make two marks on the back, each of them 1 1/2 inches in from the sides and 1/2 in. down from the top. This is where you should punch the holes.
Tip:
Instead of going crazy and measuring the spots out on every single page, just place the punched page on top of the next page. Make sure the edges of the photos are lined up and punch your new page right through the holes in the first page. This will also assure that the holes are lined up exactly.
Step 5: Bind the Pages
Use 2 large rings to to bind all the pages together and slide your dowel through the loops.
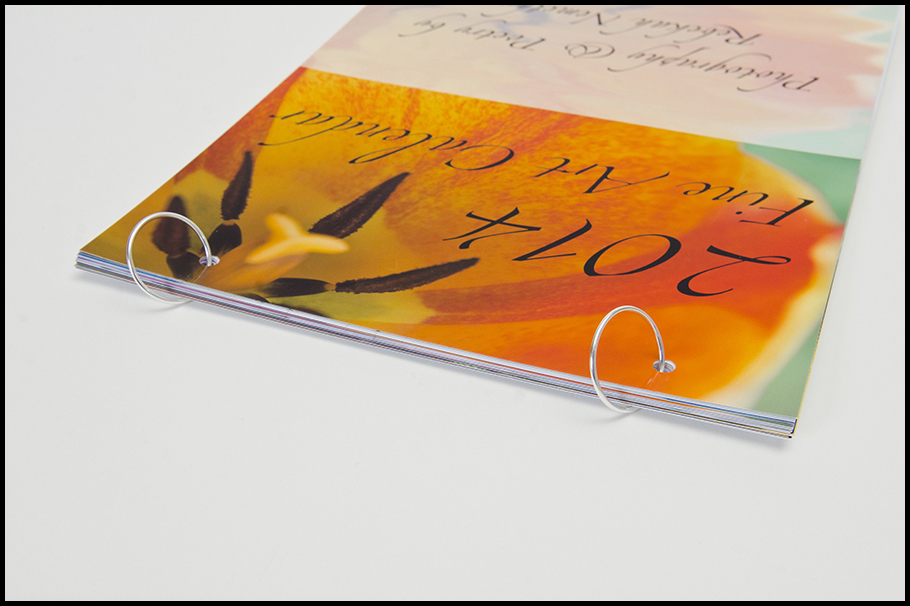
Step 6: Finally Finish Off the Chain
Take two more large rings and loop them through the wood doll pin stands that you painted earlier. These will serve to keep your calendar on the dowel and spread the chain out into a triangle shape.
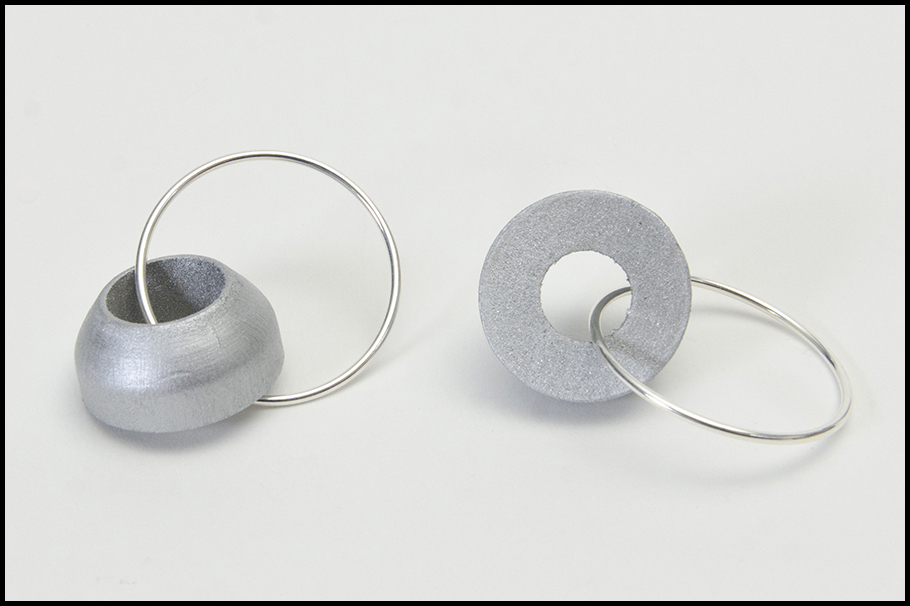
They should slide snugly onto each end of the dowel like this.
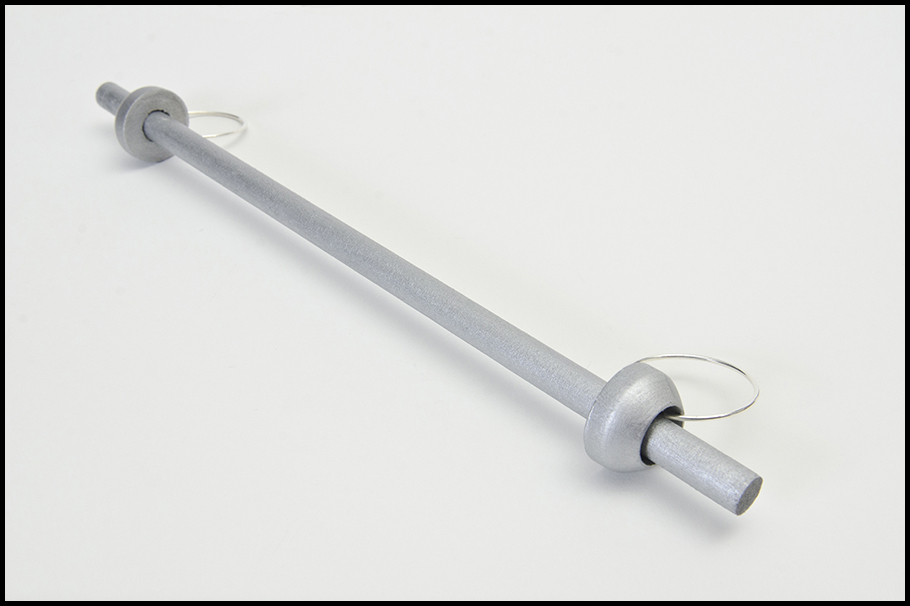
Step 7: Put it all together!
First, slide the calendar onto the wooden dowel and then add the stoppers to each end (I know, I’m showing it backwards in the photos, but I forgot to photograph this step :-/). Finally, add your chain to these ends to complete the calendar!
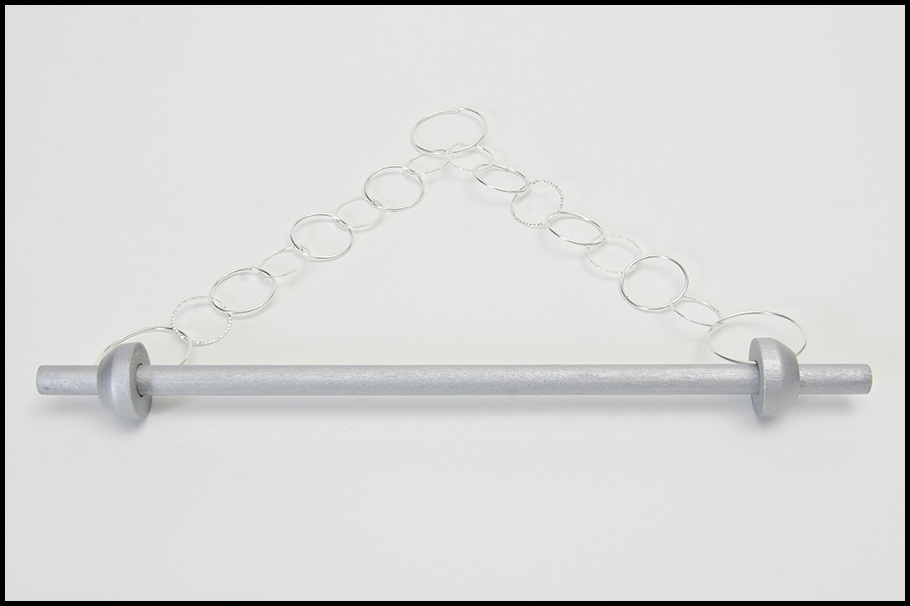
Step 8: Hang my Art and Enjoy!
This is how it should all come together. I’m so glad you chose my art to decorate your space and keep you organized this year!

P.S. Feel free to print out more copies of my calendar and use this tutorial to give your friends an awesome homemade gift for any occasion.
P.P.S. If you sign up below you’ll get a new calendar every year, so don’t miss out!

What a great idea! And so lovely and practical, too. Thanks for sharing.
So glad you enjoyed it! Thanks for reading and taking the time to comment =)
How do you flip the calendar pages without bending them?
Ah you caught me Jeannine! This is one pain in the butt element I didn’t realize until after I wrote the tutorial and started using my calendar. There are 3 things you can do:
1) The simplest thing to do is just rip off the pages off as the months go by, you will save yourself a headache =P But if you’re sentimental like me read on…
2) I actually leave the rings that hold the pages to the bar open in the back, just a crack. When it’s time to flip pages I carefully rotate the split of the ring up over the bar until it’s facing the front. (don’t rotate it down through the pages or you might lose some in the process) Then I slide the top page through the splits in the rings and disconnect it from the rest of the calendar. Then I just spin the rings back to their original position with the split in the back, and slide the page back in behind the rest.
3) You could always add some links to the chain and make the opening above larger… I’m not sure how this would look though… it might seem disproportionate. But i just thought of something else… instead of connecting the chain at the top, just leave it open. You can hang both sides of the chain at the same point, so it will have a similar look, but this way, when you have to flip the pages, you just take one side off the hook, flip the page, and put it back. Does that make sense?
I hope at least one of those solutions helps! Let me know how it turns out =)