About Life’s a Blur: A photography series that experiments with long exposures and motion blur. Every photo is a combination of movement mixed with a still subject. I’d like to think of each photo like a meditation: stillness in a sea of chaos.
These photos are also part of my Photo and 100 Words project. Since January 2014, I’ve been creating a new photo and writing about it every week. If you’re interested in finding out what prompted me to begin you can read the introduction over here.
(If you’re new to this photography series you might want to read how it all began in Part 1)
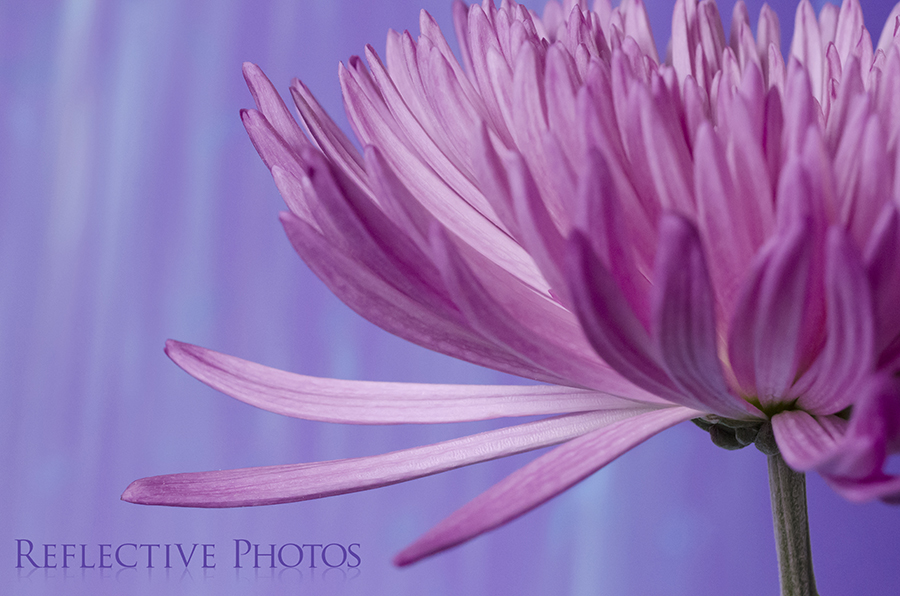
This photo is for sale… click on it for more details OR read the original post I wrote about it: “Reaching for Dreams“
The concept seemed simple: make it rain. The execution was a bit more complicated, but that was mostly my own fault…
I started out with a bouquet of flowers, a purple backdrop, and a pile of homemade confetti made by sending some construction paper scraps through our paper shredder. Shout out to Nick for simplifying that process! I had intended to use scissors.
I planned on taking long exposures of the flowers and dropping the confetti in the background to create a streaky, rainy effect.
It was only as I was pulling my flashes out of my bag, that I realized I had already run into a problem! I forgot to bring home hot lights from the studio.
A Lesson in Lighting
For those of you who are new to off-camera lighting, there are generally two options: strobes and constant light. The main difference being that constant light stays on and strobes only flash when the camera takes a photo.
There are lots of reasons you might consider using one over another, but for the purposes of this example I needed constant light because I intended to capture long exposures. Flashes tend to freeze motion and would totally negate the soft effect I was going for.
I could’ve waited for the next weekend to come around… or maybe not, I don’t really remember what I had going on at the time, but I don’t have that kind of patience anyway! And so the problem-solving began…
I decided to use my living room lamp as a constant light source. It had three bulbs on it and they were semi-adjustable, so I turned all three of them on and pointed them in the same general direction to even out the lighting on my backdrop. More importantly, the lamp was also going to be lighting the confetti in the background.
The next problem was two-fold. I only had one lamp, so that meant I had to use at least one flash to light up the flower.
First of all, mixing light sources is generally not a good idea because every light has its own colorcast. The lamp was putting out yellowy light compared to the bluish light my flash puts out.
I fixed that issue by balancing the lights with gels, which are just colored sheets of transparent plastic. It just takes a bit of time and experimentation to get it right, but I ended up covering all of the lamp lights with blue gels to negate the yellow, and I did the opposite with my flash by covering it with a yellow gel.
The second problem with using a flash on the flower was that I was also blasting the confetti with the flash too. This created a simultaneously soft and frozen look; there were streaks of color from the confetti lit by the lamp, but there were also hard dots specked across the background that froze when the flash fired. Awesome effect, but it’s not what I wanted.
I had to experiment with some matte board to find the sweet spot where I would block the flash from hitting the confetti but still allow enough light onto the flower. Eventually I got it right!
Then I added in another matte board, covered in aluminum foil, to fill in the right side of the background and bounce more lamp light back into the confetti. I’m sure I had to tweak that angle too, in order to avoid bouncing any light from the flash into the confetti as well.
You might also see that I have a giant reflector above the whole set, and I can’t remember what that was for, but I’m going to assume it was further flash blockage, and lamp light bounceage, on the background area.
More Photos Made from this Setup:
Click the links below each image to read the original 100 words of reflection they inspired! Each image is also available in my art shop, so just click on the images if you are interested in purchasing any of these for you wall.
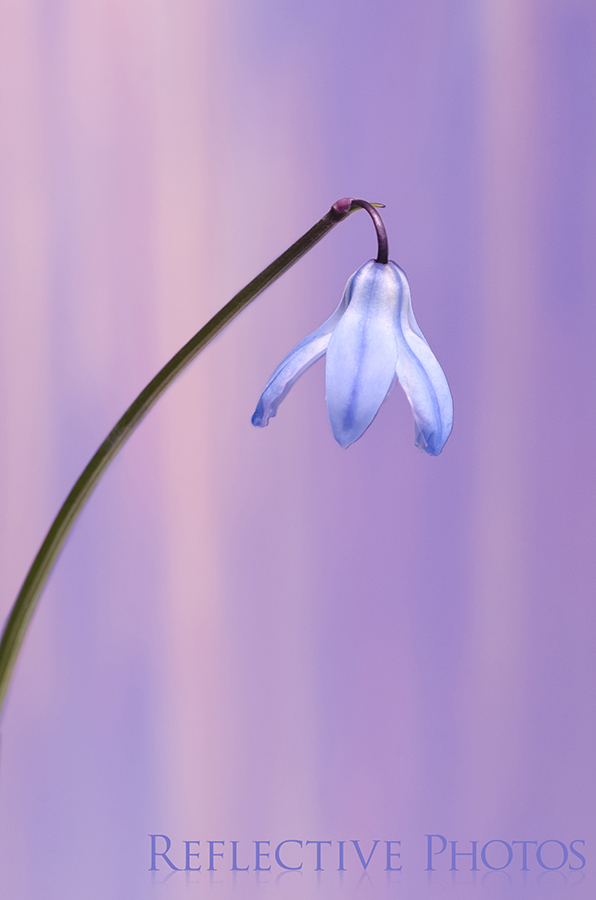
Warm Rain on a Cool Night
This image came out alongside my 100-word perspective on why “Rain is Never Gray.”
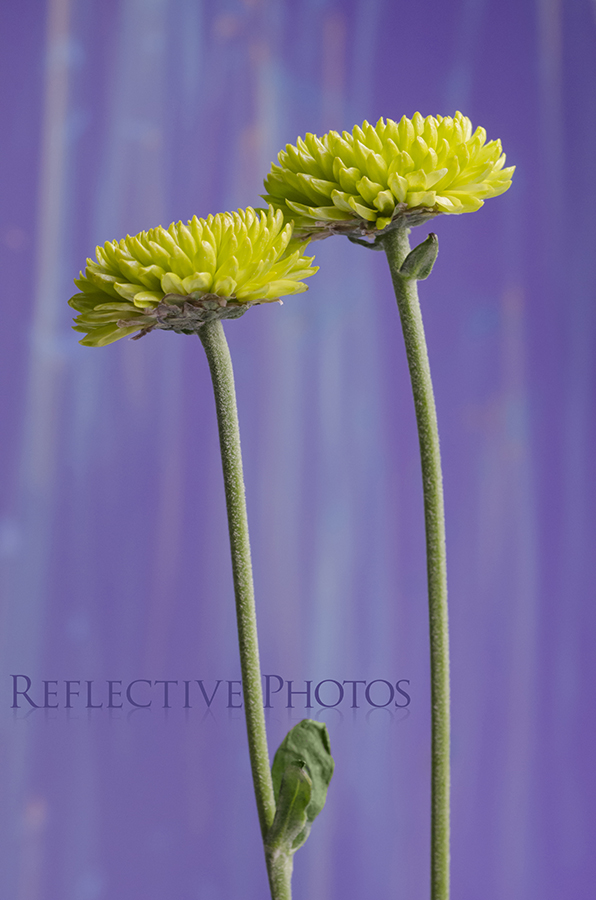
Towering Twin Flowers
I have a strong dislike of green backgrounds… and you can read why in “Naturally Unnatural.”
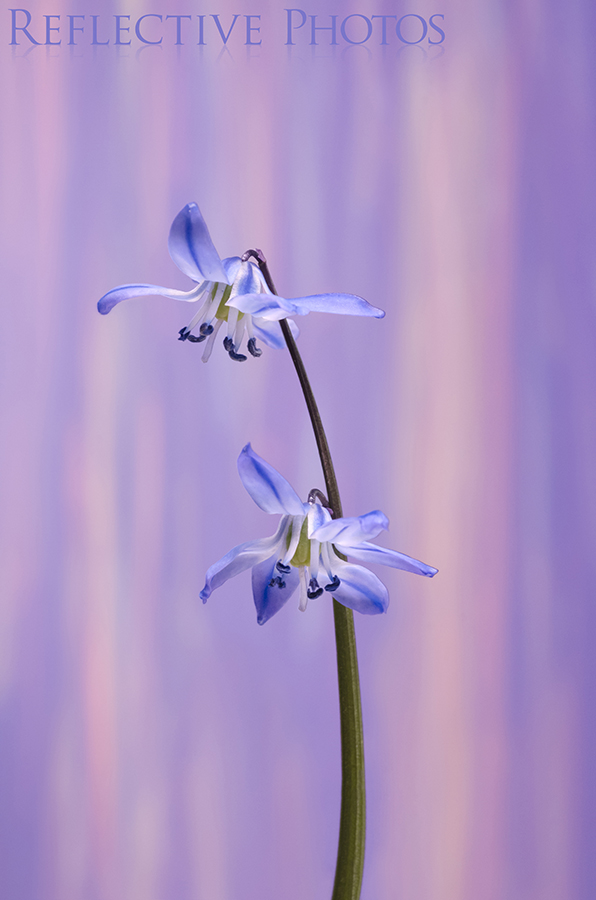
Surreal Showers on Flowers
I’m constantly amazed at how much more I have yet to discover in my own back yard, that’s what I wrote about in “Spring Sprung New Flowers,” when this photo was first published.
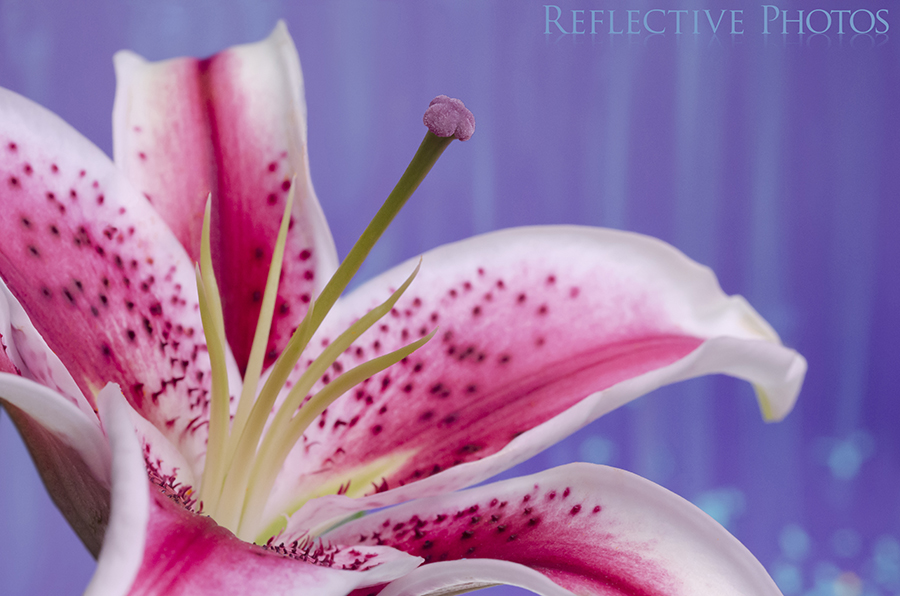
Starfighter Lily Fights the Blues
I hate when my fellow creative use lack of inspiration as an excuse not to create, and that’s what I wrote about Inspiration is for Lazy Artists.
Learn from My Mistakes!
If I had it to do over, I would NEVER do it this way! It’s a great example, though, of how anything is possible with a little creativity and what you already have.
This is also the last time you’ll see behind the scenes photos in my old studio – ahem – kitchen/living room. All future photos will show off my new studio space! I don’t know about you, but that gives me reason for celebration!
What’s Next?
You’ll get to see what my spring scenes looked like before and after I blurred them in my camera. The technique is the same one I used for parts 2 and 4 in this series, so check the links below if you want to learn more.
This will be the last behind the scenes post about the Life’s a Blur series. If you’re new here, though, you might’ve missed my previous posts on creating motion blur with long exposures!
How it All Began – Life’s a Blur – Behind the Scenes – Part 1
Fall Scenes – Life’s a Blur – Behind the Scenes – Part 2
Water Flow and Flowers – Life’s A Blur – Behind the Scenes – Part 3
How to Photograph Snowflakes – Life’s A Blur – Behind the Scenes – Part 4
Update: Part 6 is now available if you want to get a glimpse behind the spring set of Life’s a Blur!


